| title | Manage a SQL Server notebook |
|---|---|
| description | Learn how to manage notebooks in Azure Data Studio. This includes opening notebooks, saving them, and changing your big data cluster connection. |
| author | markingmyname |
| ms.author | maghan |
| ms.reviewer | achatter, alayu, mikeray |
| ms.metadata | seo-lt-2019 |
| ms.topic | conceptual |
| ms.prod | sql |
| ms.technology | azure-data-studio |
| ms.custom | |
| ms.date | 03/30/2020 |
[!INCLUDEtsql-appliesto-ssver15-xxxx-xxxx-xxx]
This article shows you how to open and save notebook files in Azure Data Studio with SQL Server. It also demonstrates how to change your connection to your SQL Server.
There are several ways to open the Open Notebook dialog. You can use the File menu, the Dashboard, and the Command Palette. The following sections describe each method.
Select File Open from the File menu Ctrl+O (in Windows) and Cmd+O (in Mac).

Click Open Notebook in the dashboard to open the File Open dialog.

Use command File: Open from command palette by typing Ctrl+Shift+P (in Windows) and Cmd+Shift+P (in Mac).

There's currently one way to save a notebook. Select Save from the notebook toolbar.

Note
The following methods currently do not save changes to notebooks:
- File Save, File Save As... and File Save All commands from the File menu.
- File: Save commands entered in the command palette.
To change the connection for a notebook:
-
Select the Attach to menu from the notebook toolbar and then select Change Connection.

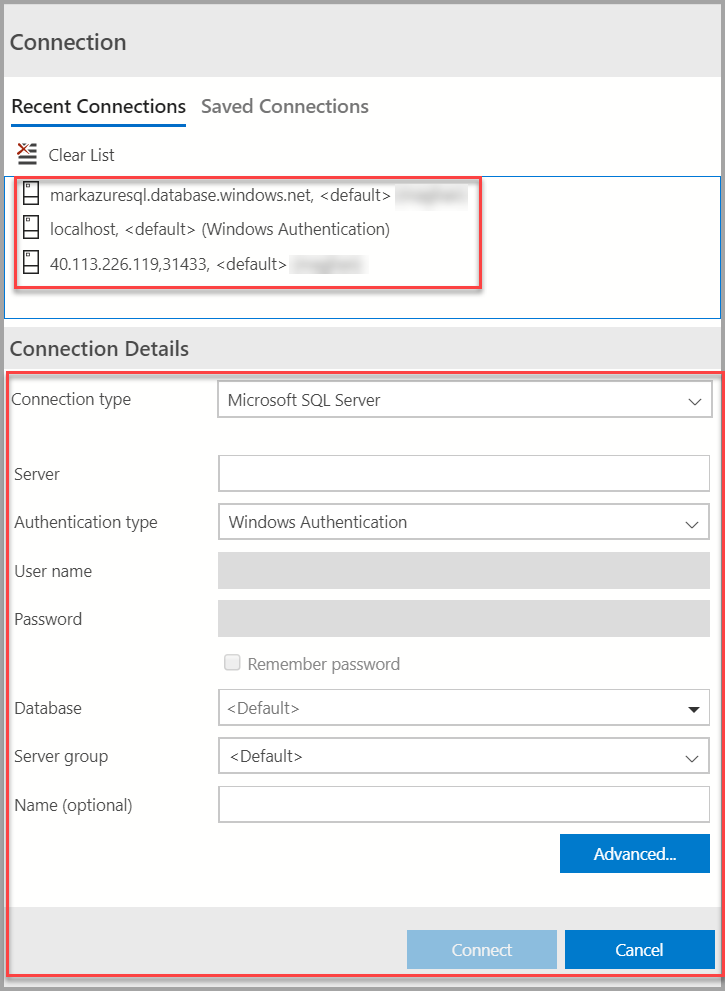
-
Now you can either select a recent connection server or enter new connection details to connect.


For more information about notebooks in Azure Data Studio, see How to use notebooks in SQL Server 2019.